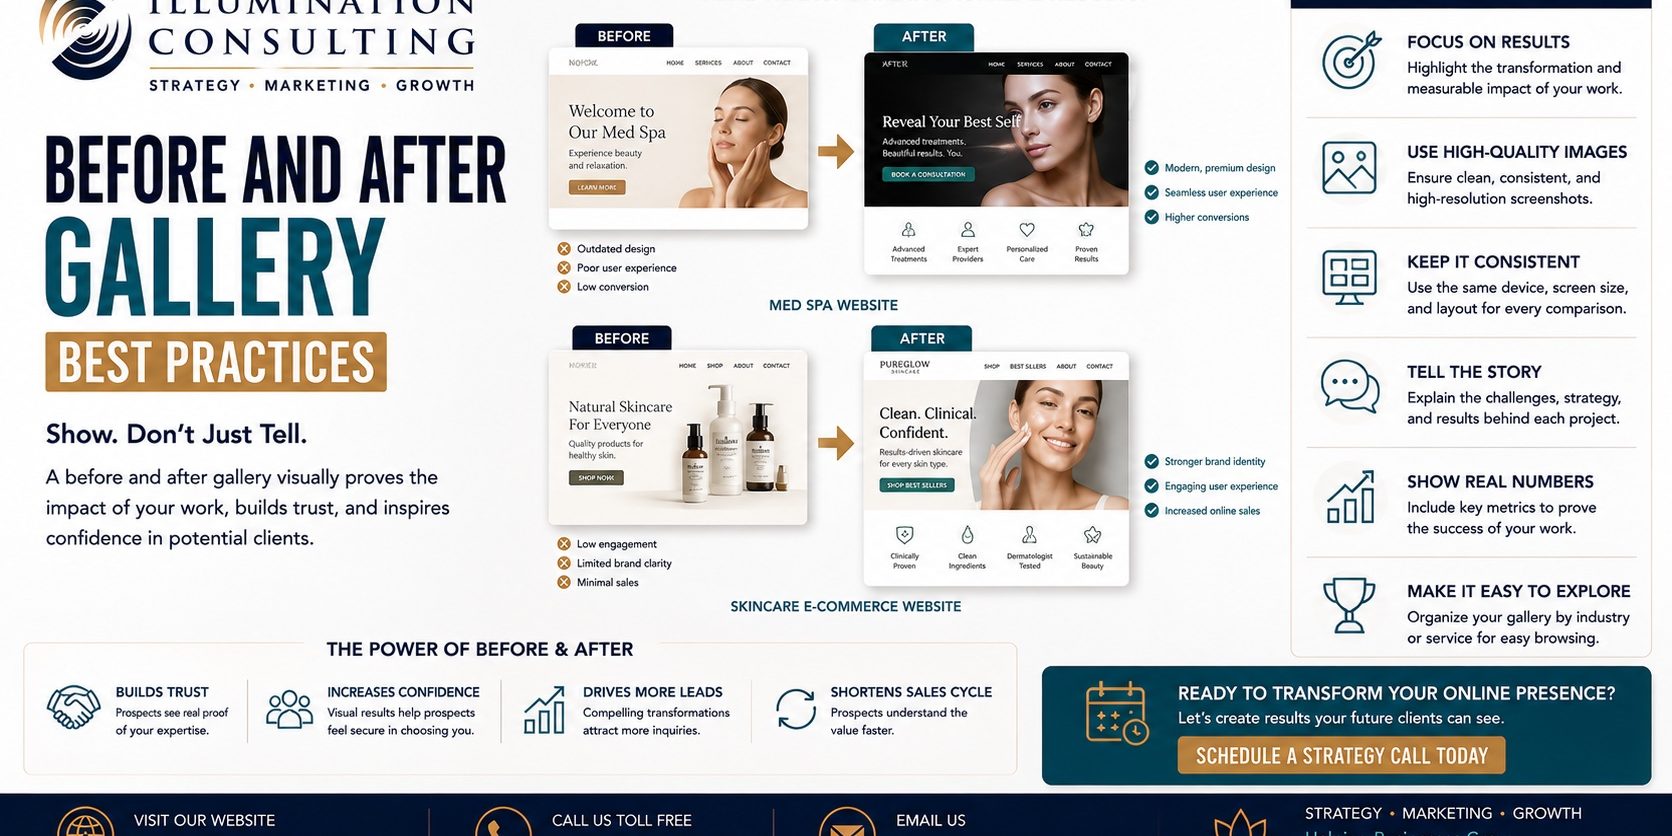
For before and after gallery, consistent lighting, camera distance, angle, and background across every session form the foundation of a credible before-and-after gallery. Clinics document patient consent, standardize backdrops and settings, avoid filters or edits, and match poses precisely. Dermatology marketing, aesthetics, and plastic surgery practices that follow these standards produce galleries that build trust, strengthen conversion rates, and withstand scrutiny from prospective patients and platforms alike.
Key Takeaways
- Professional before-and-after photos require consistent lighting, background, distance, and positioning to showcase treatment results effectively.
- 91.3% of consumers researching cosmetic procedures value before-and-after galleries when evaluating clinics for treatment decisions.
- Inconsistent photography conditions—different rooms, lighting, and angles—obscure the actual results clinics deliver to patients.
- High-quality before-and-after galleries convert website visitors into patients by providing visual proof of clinical outcomes.
What Must You Prepare Before Starting A Gallery?
Three elements need to be in place before any camera comes out: documented patient photo guidelines, signed consent-for-photos, and a strategic plan for how the images will be used. Skipping any one of these turns a promising before and after gallery into a liability or a marketing dead end. Clinics that treat gallery-building as a strategic project, not a side task, generate stronger results because prospective patients research providers online before ever booking a consultation. Ad hoc phone photos snapped between appointments rarely hold up against that scrutiny.
Preparation happens in order:
- Draft written photo guidelines specifying fixed angles for each treatment category — frontal, both 45-degree obliques, both 90-degree profiles, and an inferior oblique view for lip treatments.
- Secure consent-for-photos as a document separate from clinical treatment consent, since marketing use requires its own authorization.
- Assign a staff member to own gallery upkeep, from capture through website publishing.
- Map the gallery into the broader marketing plan, aligning it with brand positioning, SEO, and conversion goals rather than treating it as an isolated page.
Why does consent need to be separate from treatment paperwork?
Clinical consent covers the procedure itself, not permission to publish images. A distinct marketing consent form protects the practice legally. Gives patients clear control over how their photos appear online or in ads.
Who should manage photo standards day to day?
One designated staff member should own angle consistency, lighting setup, and file organization. Shared responsibility without ownership leads to mismatched photos and inconsistent galleries.
HIPAA-Compliant Patient Consent and Legal Photo Release Workflows
Ensuring patient privacy and legal protection requires a strict HIPAA-compliant process for consent for photos. This involves obtaining explicit, documented authorization separate from clinical treatment consents. Clinics must implement standardized legal workflows that:
- Inform patients clearly about the purpose and usage of their images in marketing and educational materials.
- Detail patient rights to withdraw consent at any time.
- Store consent records securely in accordance with patient privacy standards.
- Use digital or paper forms with clear signatures to authorize image use.
Following these protocols strengthens patient trust and protects the clinic from potential legal disputes related to unauthorized image sharing.
Standardized Medical Photography: Lighting and Angles
Consistent medical photography is the backbone of a trustworthy before and after gallery. Clinics must adopt rigorous clinical photography protocols to standardize photographic variables:
Lighting Setup
Use fixed, diffused lighting with consistent color temperature to eliminate shadows and skin-tone variations. This enhances the evidentiary value of images by showing authentic results without distortion. Ideal lighting setups include ring lights or softbox systems with neutral white bulbs calibrated to a standard Kelvin temperature (typically 5000K).
Photography Angles and Positioning
Following detailed patient photo guidelines, capture each patient’s treatment area from fixed angles: frontal, both 45-degree obliques, both 90-degree profiles, and an inferior oblique for areas like the lips. Body positioning overlays or physical markers help maintain exact distance and pose consistency across sessions.
Technical Image SEO: Alt Text, File Naming, and Responsive Formats
Optimizing images for search visibility and accessibility includes technical best practices:
- Alt text: Write descriptive, keyword-rich alternative text that reflects the specific treatment and results without being generic.
- File naming: Use clear, standardized naming conventions incorporating relevant keywords and patient IDs, e.g., “patient123-frontal-before.jpg”.
- Responsive image formats: Upload images in optimized, web-friendly formats like WebP or JPEG 2000 that adapt to different device resolutions to improve page load speed and user experience.
How Do You Capture Consistent Photos?
Consistent photo capture requires two technical fixes: standardized lighting and standardized positioning. Clinics that skip either step end up with a before and after gallery full of mismatched comparisons that undercut real clinical results.
- Fix the lighting first. Set fixed, diffused lighting at a consistent color temperature before any camera comes out. This single change removes shadow variation and skin-tone distortion that otherwise makes identical results look inconsistent from session to session.
- Use guided capture with position overlays. Match distance, pose, and framing to the prior session using on-screen body-position guides. This step turns photography into a repeatable clinical process rather than a guessing game for whichever staff member holds the camera.
- Log the pair immediately. Attach each image set to the patient record as soon as capture ends, before staff move to the next appointment.
Why does lighting matter more than camera quality?
Camera resolution means little if shadows shift between sessions. Diffused, fixed lighting at a set temperature keeps skin tone and contrast identical across visits, which protects the photo’s evidentiary value.
How do consistent photos support marketing goals?
Standardized pairs feed directly into patient acquisition and growth strategy work. They plug straight into website design and conversion optimization without rebuilding pages. Clinics reduce editing time while strengthening the credibility of every published gallery, a benefit detailed in Digital Marketing Agency Beverly Hills: Top Services in Beverly Hills, Californi.
Gallery Schema Markup for Enhanced SEO Performance
Implementing structured schema markup on your before and after gallery pages signals to search engines the content and purpose of images, improving visibility in rich results and local search. Recommended practices include:
- Use ImageGallery schema to define the collection of before/after images.
- Annotate individual images with ImageObject, specifying captions, copyright info, and URLs.
- Include MedicalBusiness or MedicalClinic markup on the page to establish clinic context.
- Validate markup using Google’s Structured Data Testing Tool to ensure compliance and effectiveness.
Publishing and Troubleshooting Your Before and After Gallery
Publishing a before and after gallery requires a structured sequence, not a single upload. Practice managers who follow a defined process avoid the broken images, missing consent records, and stalled rankings that plague clinics treating the gallery as an afterthought.
- Confirm every photo pair has a signed consent-for-photos record on file before uploading.
- Verify each image follows the clinic’s patient photo guidelines for framing, lighting, and file naming.
- Optimize file size and alt text so the page loads fast and supports local visibility and Google Maps rankings.
- Publish the gallery within the site’s broader SEO structure, linking it to service pages to build long-term organic traffic and brand authority.
- Pair the gallery with clear consultation calls-to-action to increase qualified patient inquiries from Google search.
- Audit the gallery quarterly for outdated cases, broken links, and inconsistent formatting.
Why does the gallery stop generating leads?
Traffic drops usually trace back to stale content or inconsistent posting, not a technical failure. A gallery that hasn’t added new cases in months signals inactivity to both patients and search engines. Treating the gallery as part of a broader brand positioning. Revenue growth system keeps it active and aligned with practice goals.
What causes gallery images to display incorrectly?
Mismatched aspect ratios and unoptimized file formats cause the most display errors. Standardizing image dimensions before upload prevents cropping issues across devices.
A comprehensive before and after gallery transforms patient perception and accelerates booking decisions. By implementing strategic organization, authentic imagery, detailed descriptions, and compliant consent practices, aesthetic clinics establish credibility while showcasing tangible results. These galleries function as powerful conversion tools that bridge the gap between patient inquiry and treatment commitment. Investing in gallery excellence positions your clinic as a trusted authority in your market. Drives sustainable business growth through visual storytelling that resonates with prospective patients.
Conversion Rate Optimization of Case Studies in Galleries
To maximize inquiries and bookings from your before and after gallery, integrate proven visual proof conversion strategies:
- Present patient stories with detailed treatment explanations alongside photos to build emotional connection and trust.
- Use clear, compelling calls-to-action (CTAs) at key points, inviting users to schedule consultations or learn more.
- Incorporate trust signals like patient testimonials, clinical credentials, and third-party validations around gallery content.
- Enable filtering options by treatment type to help prospective patients quickly find relevant case studies matching their interests.
- Regularly refresh gallery content with new, approved cases to demonstrate active practice and up-to-date expertise.
FAQ
What angles should clinics photograph for every patient?
Clinics capture a frontal view, both 45-degree obliques, both 90-degree profiles, and an inferior oblique view for lip treatments. These fixed angles, documented in written patient photo guidelines, keep every session comparable.
Why does lighting consistency matter so much in a before-and-after gallery?
Fixed, diffused lighting at a consistent color temperature removes shadow variation and skin-tone distortion. Without it, identical results can look inconsistent from one session to the next, undermining credibility.
How does a strong gallery affect patient conversion?
91.3% of consumers researching cosmetic procedures value before-and-after galleries when evaluating clinics. High-quality, consistent galleries provide visual proof of outcomes that converts website visitors into patients.